

How To Sew A Makeup Bag With A Zipper
DIY Your Very Own Makeup Bag With This Insanely Piece of cake Tutorial
Bags tin can be such a fun sewing project to jump into, just if a full-size tote sounds similar more what you're set to handle, we have the perfect solution: a makeup bag! It's the ideal style to start installing zippers, working with different fabrics and adding custom touches that truly make a bag your own. Plus, they make swell holiday gifts — win, win!
Makeup Bag
Level: Advanced beginner
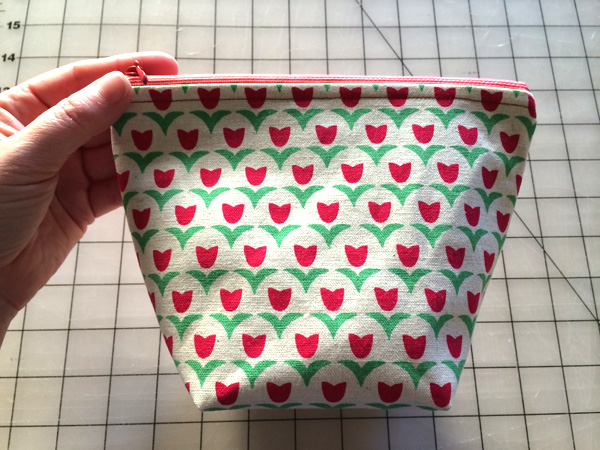
Finished size: 10″ x 5″
Pro Tip: Not the size you want? No problem! Alter your dimensions and seam allowances to make the bag any size yous similar. The dimensions given in this project will make a purse like the blue i pictured above.
What Y'all Demand
Fabric
Pro Tip: Fat quarters piece of work great for this project — pick out one for your outer material and one for your lining material, then you're good to go! Y'all can use quilting cotton for both the outer fabric and lining, or endeavor something heavier on the outside of your purse, similar linen sheet or even waxed canvas.
Other Surprise
Instructions
1. Create Your Pattern
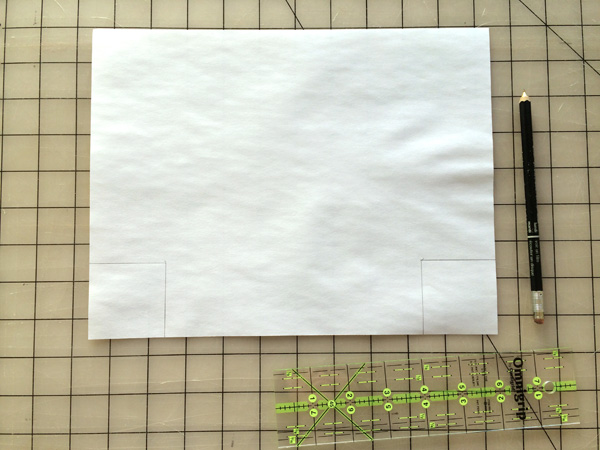
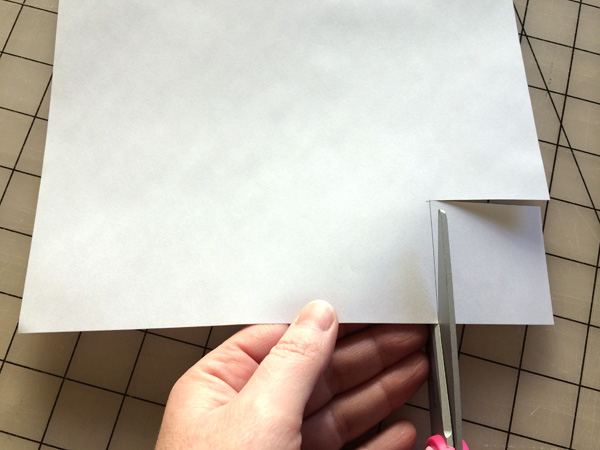
To make your pattern piece, cut your paper into a 10½" x 5½" rectangle. (Use your arts and crafts pair of scissors for this — never cutting paper with your fancy fabric shears!)
Cut out ii″ squares in the bottom corners (one of the long edges). These will form the boxed bottom, and the section in between will become the bottom of your bag.
2. Cut Out Your Fabric
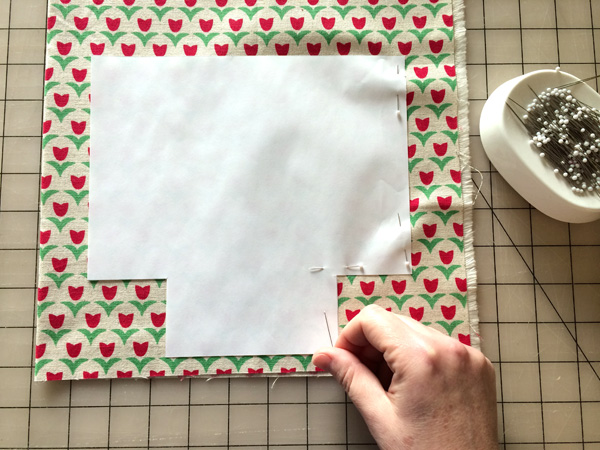
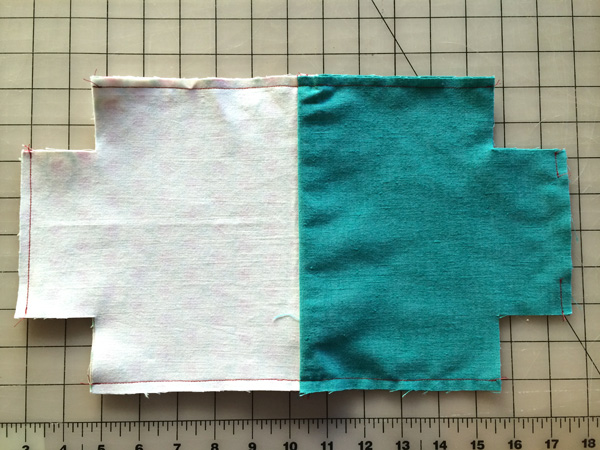
Fold your outer fabric in half, wrong sides together, and pivot the pattern slice in place. Cutting around the pattern, so repeat on the lining and interfacing. You should now take two pieces of outer fabric, two pieces of lining and two pieces of interfacing.
3. Fuse the Interfacing
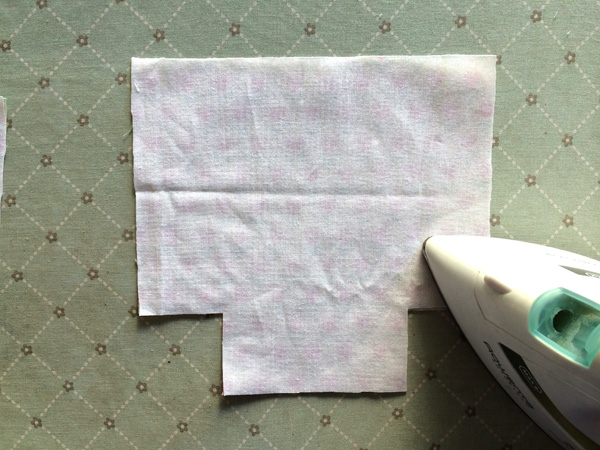
Fuse the interfacing to the incorrect side of the outer fabric, post-obit the manufacturer'southward instructions.
iv. Sandwich the Attachment
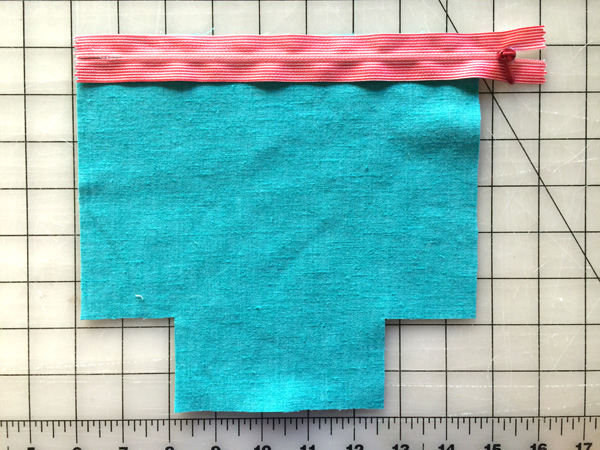
Identify your zipper wrong side down on elevation of the lining. (If your lining fabric has a right and wrong side, the right side should exist facing upwards.) Line up the length of the zipper tape with the cutting upper border of the fabric. (Because the zipper is longer than your handbag, the pull will stay out of the fashion when you're sewing.)
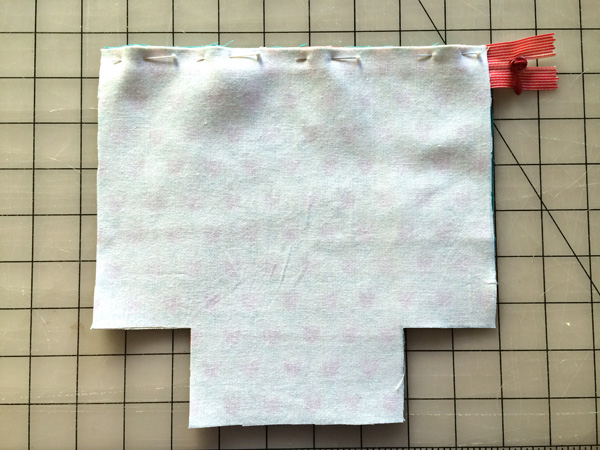
Place one piece of outer textile, right side downward, on top of the lining and zipper. Pin in place along the zipper. The outer fabric and the lining should be perfectly in line with each other and both should exist flush with the zipper tape.
v. Stitch Information technology All Together
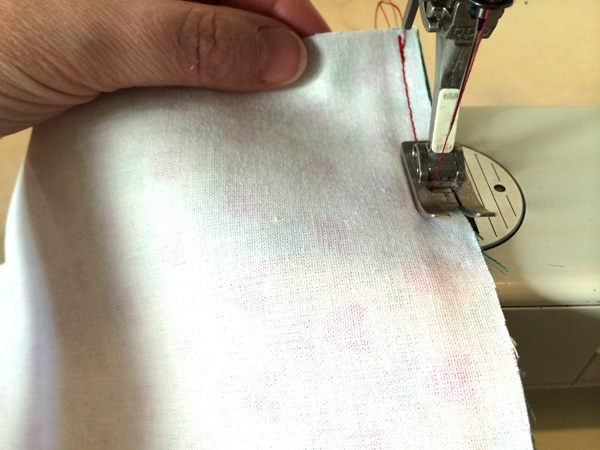
Sew the lining and outer textile to the zipper using a ¼" seam allowance.
Pro Tip: You can sew as close (or far!) as y'all prefer to the zipper teeth, depending on how much of the tape you want to meet in the end. If yous have a attachment pes for your machine, utilize it hither.
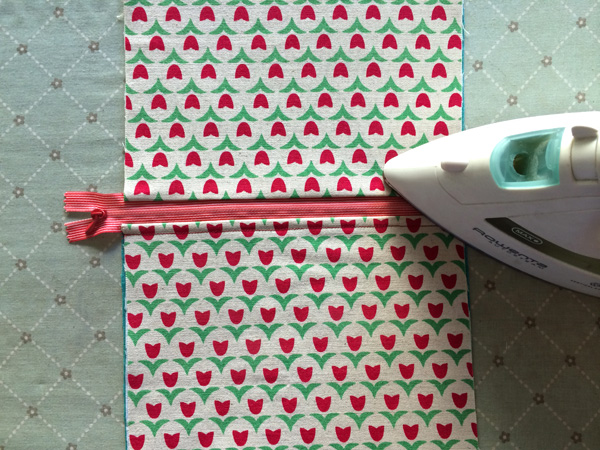
6. Press the Seams
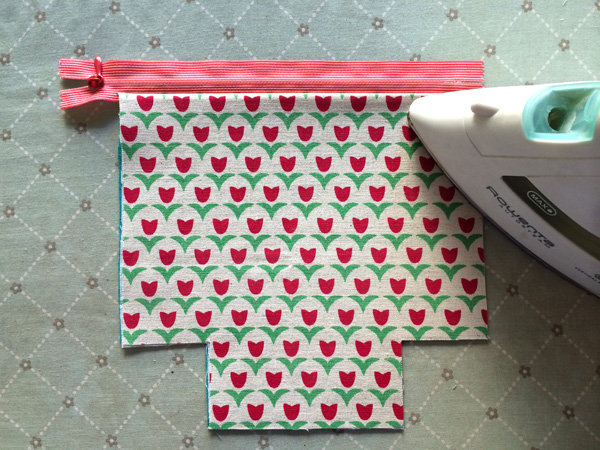
Press both layers abroad from the zipper, being careful to press the area around the seam very flat as you lot will be topstitching there next.
Topstitch along the zipper seam through the outer textile, lining and attachment record. This stride will keep your fabric in place, and prevent it from getting caught in the zipper.
7. Kickoff Your Second Side
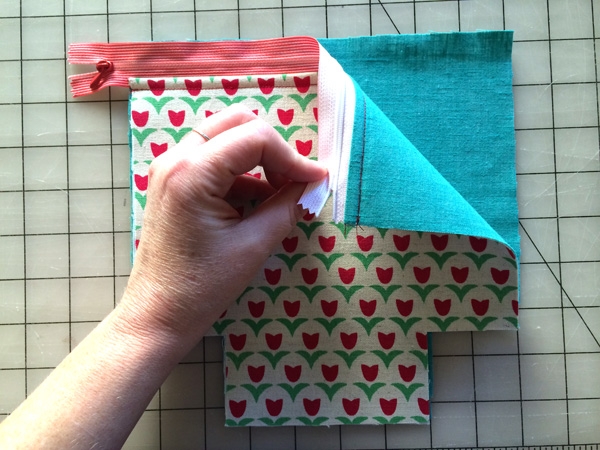
Place your second piece of lining right side up on your work station. Lay the zipper sandwich on top, correct side facing upward. (The two pieces of lining should be touching.) Make certain the meridian of edge of your lining textile is aligned with the top border of the zipper tape.
Lay the remaining outer piece on height of the first outer piece, correct sides together. Once again, the top edge of this slice should align with the top edge of your zipper tape. Pin your pieces in place.
8. Run up and Press (Once more)
Just equally you did on the starting time side, sew together forth the zipper using a ¼" seam assart (or use the same seam allowance you lot did on the commencement side, so you see the same corporeality of zipper record on the right side of the bag when finished.)
But as on the other side, printing the lining and outer layers away from the zipper, being careful to press the topstitching area very flat in preparation for sewing.
9. Topstitch
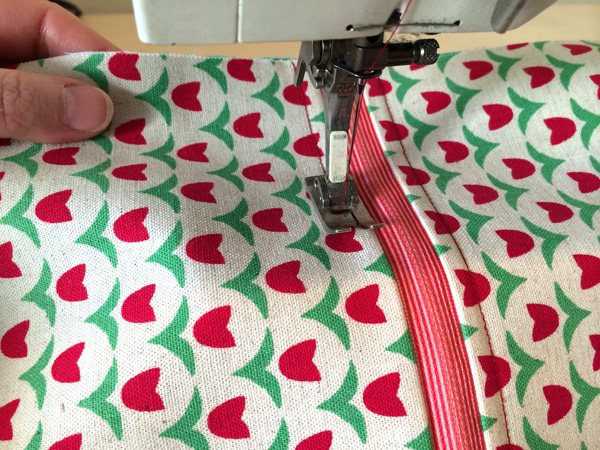
Topstitch the second side, maintaining the aforementioned seam allowance as the showtime side.
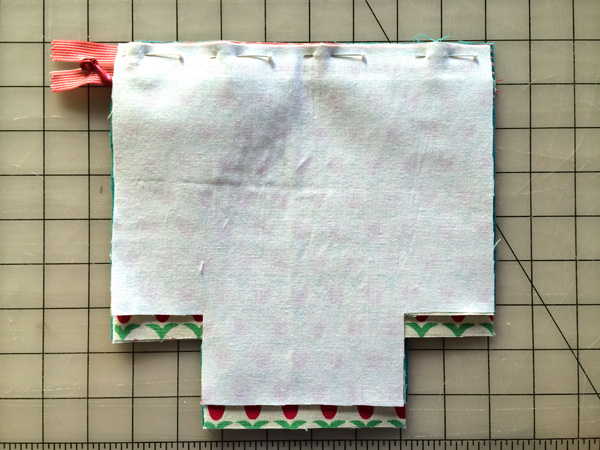
10. Pin and Prep
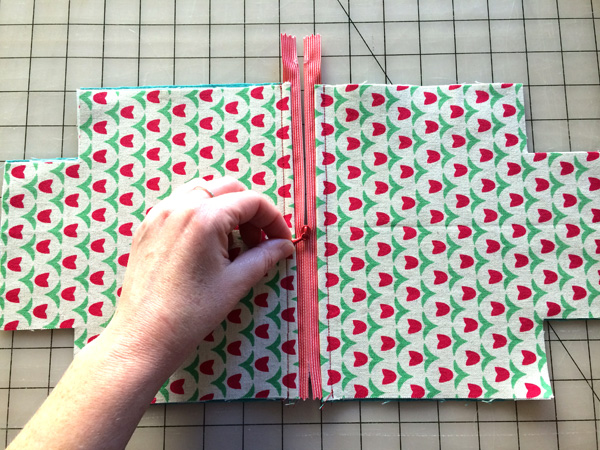
Lay the entire piece open with the outer fabrics facing up. Open the zipper halfway, so you can turn the purse correct side out later.
Pro Tip: Do NOT SKIP THIS STEP. Yes, information technology really is that important. If your zipper isn't open, you won't be able to turn your bag right-side out.

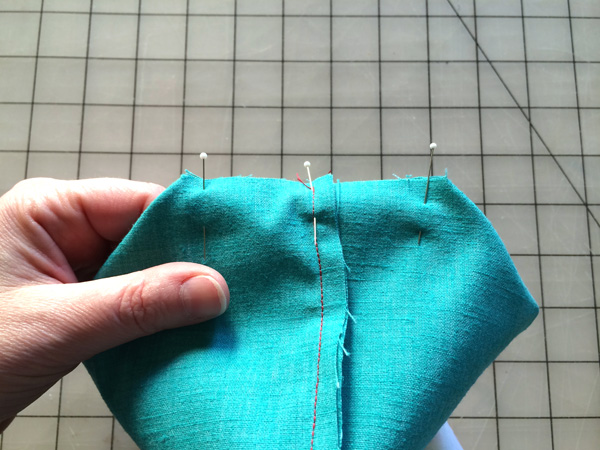
Flip the layers over, folding so the correct sides of the lining pieces and the right sides of the outer cloth are together. Pin in place on the sides and bottom. Make sure your zipper record is folded in half as well, with both edges pointing towards your lining fabric.
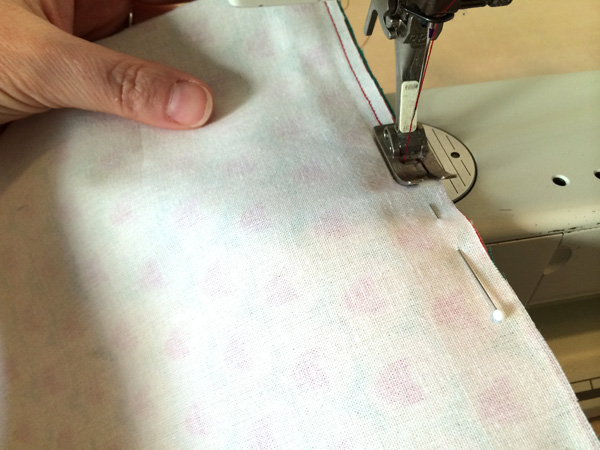
11. Stitch the Sides
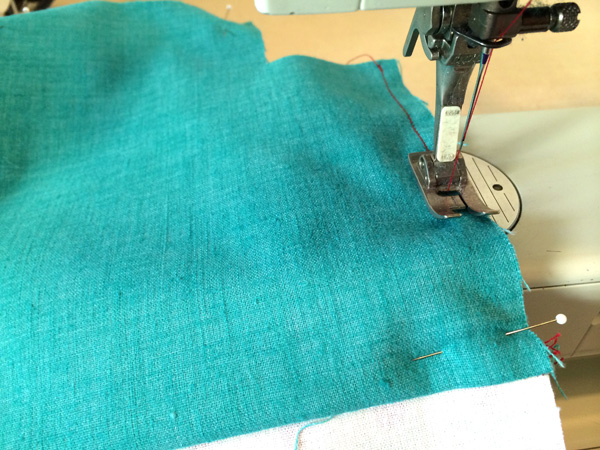
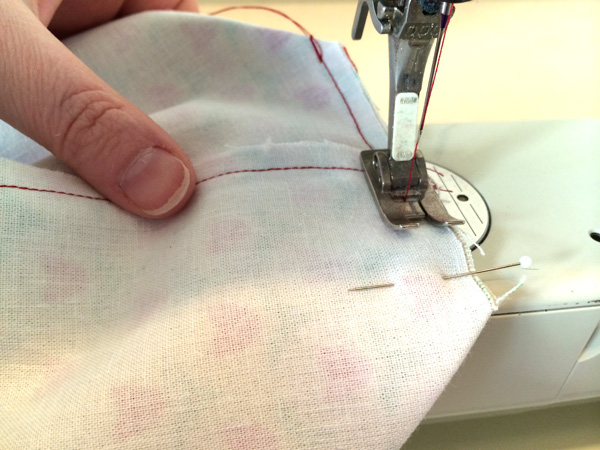
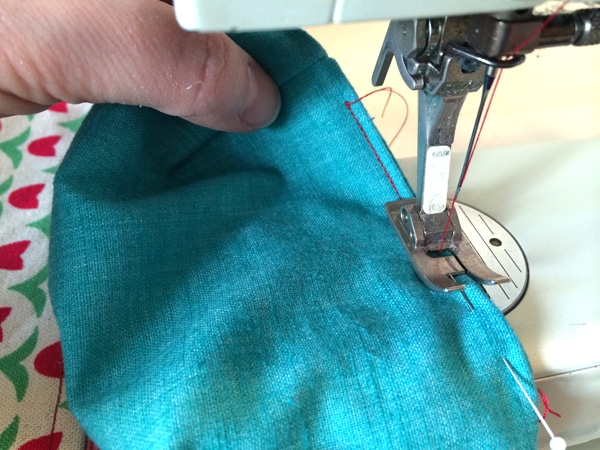
Sew along the ii sides of the bag, using a ¼" seam allowance.
When you get to the attachment, just stitch directly over it, as shown in the clip above. (Coil zippers take nylon teeth, and your needle will become correct through it, no problem). Trim your zipper once you've sewn over it. (Once again, your scissors will cut right through information technology.)
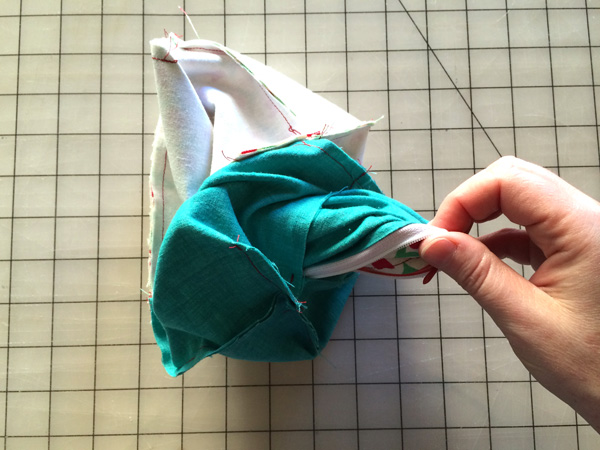
Sew the bottom of the handbag on the outer textile side. On the lining bottom, only sew a bit on each side and then that at least 3-4″ is left open for you to pull the handbag right side out later.
Your piece should expect similar this at this signal. The sides and outer bottom are sewn, but the centre of the lining bottom and the corners are left unsewn.
12. Sew together the Corners
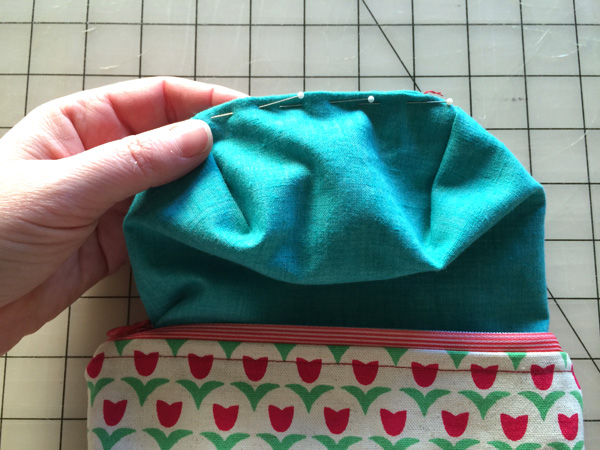
Fold the corners so the raw edges line upwardly, flattening the bottom seam against the side seam to course a directly line. Fold one seam allowance to one side and the other side'south allowance to the opposite side to reduce bulk. Pin in identify.
Sew the four corners with a ¼" seam allowance.
thirteen. Flip the Bag Right Side Out
Accomplish your hand into the bottom of the lining and through the open zipper. Plow the bag right side out.
fourteen. Close the Lining
Fold the seam allowance in at the bottom of the lining and pin in identify.
Sew the opening closed. Fold the lining back into the pocketbook.
 You lot're done!
How To Sew A Makeup Bag With A Zipper,
Source: https://www.craftsy.com/post/how-to-sew-a-makeup-bag/
Posted by: ryanreephy.blogspot.com
0 Response to "How To Sew A Makeup Bag With A Zipper"
Post a Comment